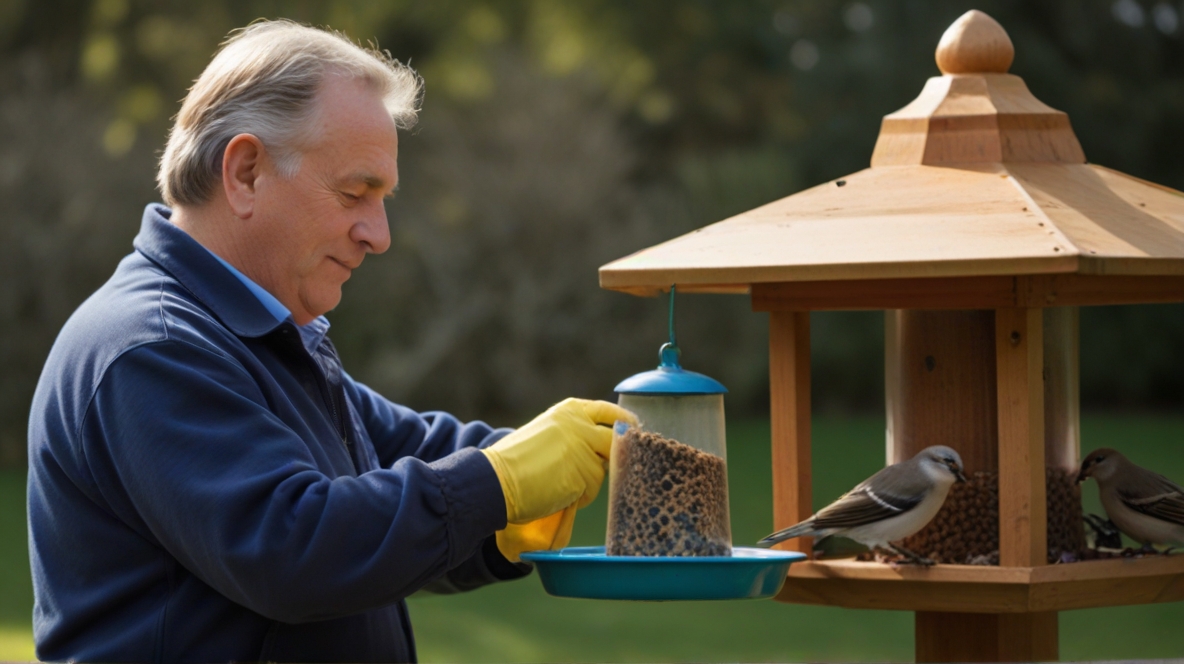
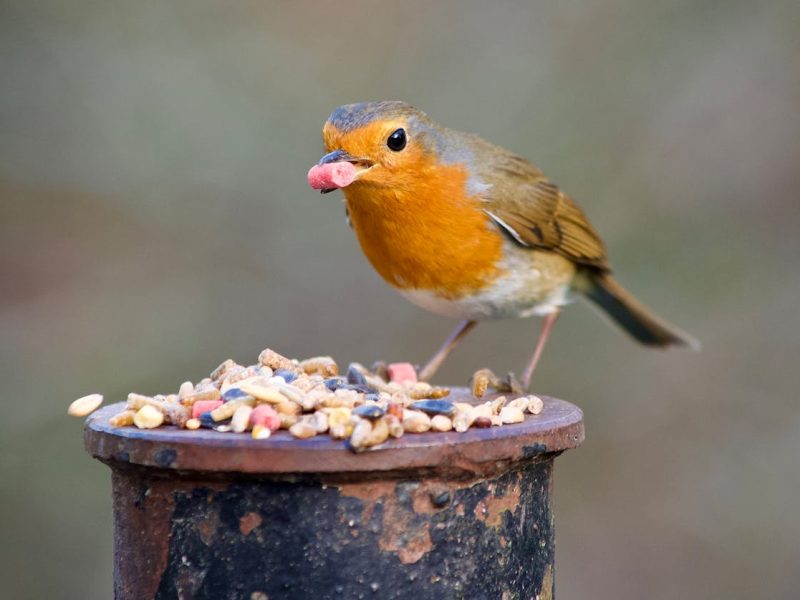
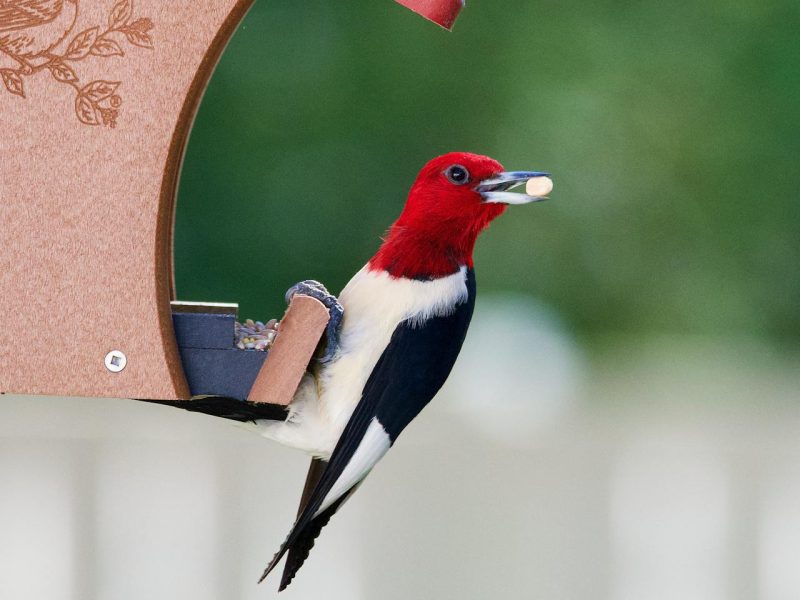
You love watching the birds visit your feeder. Their bright colors and cheerful songs brighten your day. But have you noticed your feeder looking a bit grimy lately? Allowing bird feeders to get too dirty can harm the birds and spread disease. Don’t worry though, regular cleaning is a simple task that will keep your feathered friends healthy and happy.
Why Bother Cleaning?
I’ll admit, when I first started feeding birds I naively thought the feeders could just stay up indefinitely without much maintenance. Boy was I wrong! Moldy seeds, bird droppings, and other gunk can accumulate shockingly fast.
This nasty buildup creates an unsanitary environment that puts birds at risk of diseases like salmonellosis. It can also attract rodents and insects looking for an easy meal. No one wants a family of mice or wasps taking over their bird feeder!
Just like we need to clean our eating areas, birds deserve a clean feeding station too. With just a little regular effort on your part, those birdfeeders will be sparkling and the birds will stay healthy.
What You’ll Need?
Luckily cleaning supplies for bird feeders are cheap and simple.
You’ll likely have many of these items already:
- Bucket or large bowl for soaking.
- Scrub brush (an old toothbrush works great for tiny crevices).
- Unscented biodegradable dish soap.
- White distilled vinegar.
- Bleach solution (1 part bleach to 9 parts water).
- Clean drying towel.
- Garden hose with spray nozzle.
Make sure you are using a well-ventilated area to work. Having a pair of rubber gloves on hand isn’t a bad idea either if you’ll be using bleach. With just this basic gear, your birdfeeders will be as good as new in no time!
Step-by-Step Cleaning
Here’s my tried-and-true routine for deep-cleaning bird feeders:
- Clear out any remaining seed. Before getting the feeder wet, empty out any seed remnants so they don’t turn into a mushy mess. I like to repurpose these for my compost pile.
- Soak and scrub with soap and vinegar. Fill a bucket with very hot water and add a good squirt of dish soap and 1/4 cup vinegar. Let the feeder soak for 15-20 minutes to help loosen stuck-on grime. Then scrub thoroughly with the brush, getting into all the nooks and crannies.
- Rinse thoroughly. Rinse off all soap residue with the garden hose. I find using a high-pressure spray nozzle helps blast away stubborn dirt and soggy seed husks.
- Disinfect with bleach solution. Mix up a bleach solution and use a clean scrub brush to fully wipe down and scrub every surface of the feeder. Let it sit for 5 minutes before rinsing.
- Rinse and dry completely. Give it one final good rinse, making sure to remove any lingering bleach smell. Then wipe down with a towel and allow to fully air dry before refilling.
It’s really that simple! I like to do a quick once-over with dish soap and the scrub brush every 1-2 weeks. Then I hit it with the full deep clean using vinegar and bleach monthly.
If you have multiple feeders, it can be handy to dedicate a couple of days as a “bird feeder cleaning weekend.” Knock them all out assembly-line style for maximum efficiency. Your birds will be so relieved when their newly refreshed feeding stations are restocked!
A Warning About Harsh Cleaners
During my early bird feeding days, I made the mistake of using an abrasive bathroom cleaner on my feeders. I figured if it cut through soap scum, it could tackle birdseed gunk too, right? Wrong!
A couple of weeks later, I was heartbroken to find a sickly-looking bird struggling at my feeder. After some frantic Googling, I realized I had likely poisoned the poor thing with the cleaner’s harsh fumes and chemicals.
Sadly, the bird didn’t make it. It was an important lesson for me to use only bird-safe cleansers meant for that purpose. Bleach may seem intense, but it fully dissolves and won’t leave harmful residues when used properly.
Always thoroughly rinse feeders and never, ever use anything containing ammonia, acids, or detergents with petroleum distillates. When in doubt, stick to basic unscented dish soap, vinegar, and bleach solutions explicitly meant for bird feeder cleaning.
Creative Feeder Designs to Simplify the Job
Over the years, I’ve gone through many different styles of bird feeders. Some designs are an absolute pain to fully disassemble and clean all the crannies. Tube feeders with lots of small holes can be a total nightmare!
My top recommendations for easy cleaning are sturdy plastic or metal hopper feeders that can be fully submerged. Stay away from anything with excessive hard-to-reach nooks. If you do opt for something more intricate, look for feeders with a removable base or that can be easily taken apart.
Spending a little more upfront on a quality feeder that disassembles easily will save you so much hassle in the long run. Trust me on that one! Seeing birds happily partake from a freshly cleaned feeder makes the effort worth it.
Keeping it All Natural
While bleach is considered safe for periodic deep cleans, you may prefer using all-natural cleaners if possible. Vinegar makes a great deodorizer and light disinfectant. Just be sure to scrub well, as it’s not quite as heavy-duty as bleach.
Some extra eco-friendly options to try:
- Baking soda: Make a baking soda paste to gently scour off stuck-on gunk
- Vinegar spray: Mix equal parts vinegar and water in a spray bottle
- Lemon juice or grapefruit juice: The acid helps dissolve buildup
- Enzyme cleaners: Look for “green” enzyme-based cleansers designed to eat away residue
You can even make your natural cleaning solution by steeping citrus peels, vinegar, and water. Whatever cleaner you choose, just be sure it clearly states it’s safe for use on bird feeders.
I go with the vinegar/baking soda scrub for monthly cleanings. Then I’ll do one heavy-duty bleach deep-clean seasonally, like at the start of spring when activity ramps up.
Don’t Forget the Accessories
It’s not just the bird feeders themselves that need regular cleaning and maintenance. All the other accessories like baths, houses, and hanging rods can harbor built-up grime too.
Give birdhouses a good cleaning and air out at least once per year, such as each fall after nesting season. Baths require weekly scrubbing to prevent algae and mosquito larvae buildup. Hanging hooks, chains, and rods collect debris over time and should get an occasional wipe-down as well.
Taking a little time to fully clean and inspect the entire feeding station area helps ensure a safe, healthy environment for your feathered visitors year-round. They’ll certainly appreciate your efforts!
Making it a Routine
I’ll admit, when I first started feeding birds the cleaning chores felt like a hassle. These days, it’s just part of my routine—no bigger deal than doing the dishes or taking out the trash.
Set yourself a recurring calendar reminder and you’ll eventually get in the groove of it too. Maybe you already have a specific day reserved for gardening or yard work. Tacking bird feeder cleaning onto that existing routine can help cement the new habit.
The bottom line is this: Your backyard birds depend on you to keep their feeding areas safe and sanitary. It’s a small price to pay for enjoying their delightful presence all year! Once you get in the groove, staying on top of it is quite simple.


